
After creating the Facebook ad in Canva, I started working on the landing page and autoresponder. It took me some time to work on these. Good thing it was a chilly day. Had it been summer, my sweat would have been all over the keyboard.
Me and my other colleagues got a good deal with Landing Page Monkey.com. They offered a discount plus valuable bonuses a few months back. Landing Page Monkey.com is very user-friendly, but unfortunately, it does not have templates for a thank you page . I plan to sign up for a LeadPages.net account for my next set of ad campaign, as the site also has thank you page templates.

http://landingpagemonkey.com/

The tutorials inside the Landing Page Monkey were very helpful.
I worked on the Step 1 – Page Styling first. It would contain the background image and color, as well as button texts and color. Next, I worked on Step 2 – Page Content, where the headline and supporting copies, are placed.

Page Styling and Page Content
Step 3 is the Autoresponder Integration. This is where I needed the help of my Benchmark Email.com account. I created an email list in Benchmark. That is where the emails that I will get will be stored. I also created the sign up form, the confirmation email, and the first autoresponder email that the prospective clients will receive.
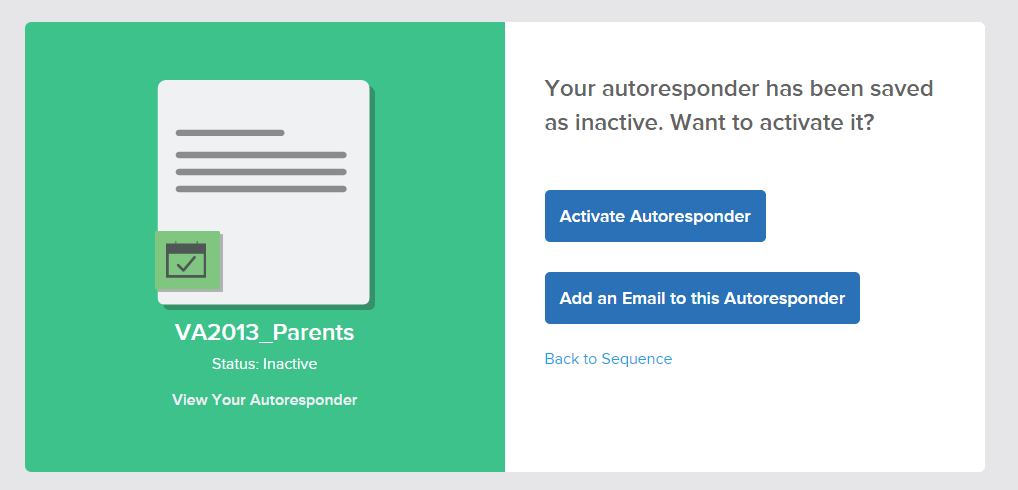
Activating autoresponder in Benchmark email.

This is the first email that the prospective customers will receive.
From the sign up form that I created, I got the HTML code, which I pasted in the custom AR form area of the autoresponder integration step.

There goes the Benchmark Email HTML code!
I think it took me two hours to finish creating the landing page and the autoresponder. But it was worth it, especially when I saw the results.

This is the first page of my landing page!

You will see this when you click Next from the first page.
After testing the landing page, I created a thank you page in Tumblr. The thank you page is where the Facebook ad tracking pixel will be pasted so I can monitor how many provided their emails.
This is my thank you page done in Tumblr. Where and how did I get those codes at the left? You’ll find out soon.


0 Comments